How to Pick the Right Tent for Your Party (And Why Most People Get This Wrong)
A Sacramento family's guide to tent sizing, sidewall placement, backdrop strategy, and all the items that turn a tent into an actual event.
There's a moment at every outdoor party where everyone in the room quietly knows something went wrong. The tables are packed shoulder-to-shoulder. Nobody can find the dance floor because there isn't one — the tent was too small. The DJ is crammed into a corner. Guests are drifting to the front yard because there's no room inside. The host is smiling, but you can see it in their eyes. This wasn't what they pictured.
We've seen it happen. Not at our events — but at the ones people call us about the week after, asking if they can do better next time. The culprit is almost always the same: they followed a generic tent sizing chart from the internet, didn't account for what actually happens at a party, and ended up undersized.
This guide fixes that. By the end, you'll understand tent sizing better than most vendors will ever tell you, how to place your sidewalls to control flow and protect your backdrop, and which items you actually need once you commit to a tent. Everything we know — yours for free.
The Problem With Every Tent Size Chart Online
Most tent size calculators use banquet hall math: 10–12 square feet per guest for a seated dinner. For 100 guests, they say get a 1,000–1,200 sq ft tent. That math works inside a ballroom with a commercial kitchen, a staffed service entrance, and a built-in bar. At a backyard event? It falls apart immediately.
The four zones your tent actually needs
Dining zone (15 sq ft per person seated) + Dance floor zone (4–6 sq ft per dancer — assume 20% of guests) + Service/bar zone (at minimum 6×10 ft) + Backdrop/photo zone (10–15 ft of clear space). Add all four before you size your tent. The math always surprises people.
Let's run a real example. 100 guests at dinner: 100 × 15 sq ft = 1,500 sq ft. A 14×14 dance floor adds 196 sq ft. A serving table and bar area adds 80 sq ft. A proper photo backdrop zone adds another 100 sq ft. You're at 1,876 sq ft before you've accounted for aisle space, a DJ setup, or any buffer for guests moving between zones.
Now look at what that means in tent dimensions. A 20×60 tent is 1,200 sq ft. A 30×60 is 1,800 sq ft. A 30×60 would be tight but workable. A 20×60 would be a disaster. The tent size chart said you needed 1,000 sq ft. Reality said you needed 1,800. That's the gap that ruins events.
The Sacramento Heat Factor (Most Guides Skip This)
If your event is between May and September in Sacramento, heat is a design problem — not just a comfort preference. A 20×40 tent with all four sidewalls fully closed in July is a greenhouse. Before you book, think about orientation and airflow.
What to do:
- Orient the tent so the long sides face roughly north-south, letting the prevailing western afternoon breeze enter from the open long sides
- Keep at least one long side fully open, or use cathedral window panels that allow airflow while maintaining an elegant look
- Add tent fans — they mount to the overhead frame and circulate air without taking floor space
- Avoid placing tents flush against dark fences or south-facing walls that absorb and radiate heat through the afternoon
How much do tent fans actually help?
Two overhead tent fans in a 20×40 can drop the feel temperature by 8–12°F during Sacramento summers. For any daytime event between June and September, this isn't optional — it's the difference between guests staying and guests leaving early.
The Tent Series Breakdown (Plain English)
We organize tents into four series based on pole spacing and tent width. Most vendors just throw dimensions at you — here's what each series actually means for a real event:
10/20-Series (10–20ft wide)
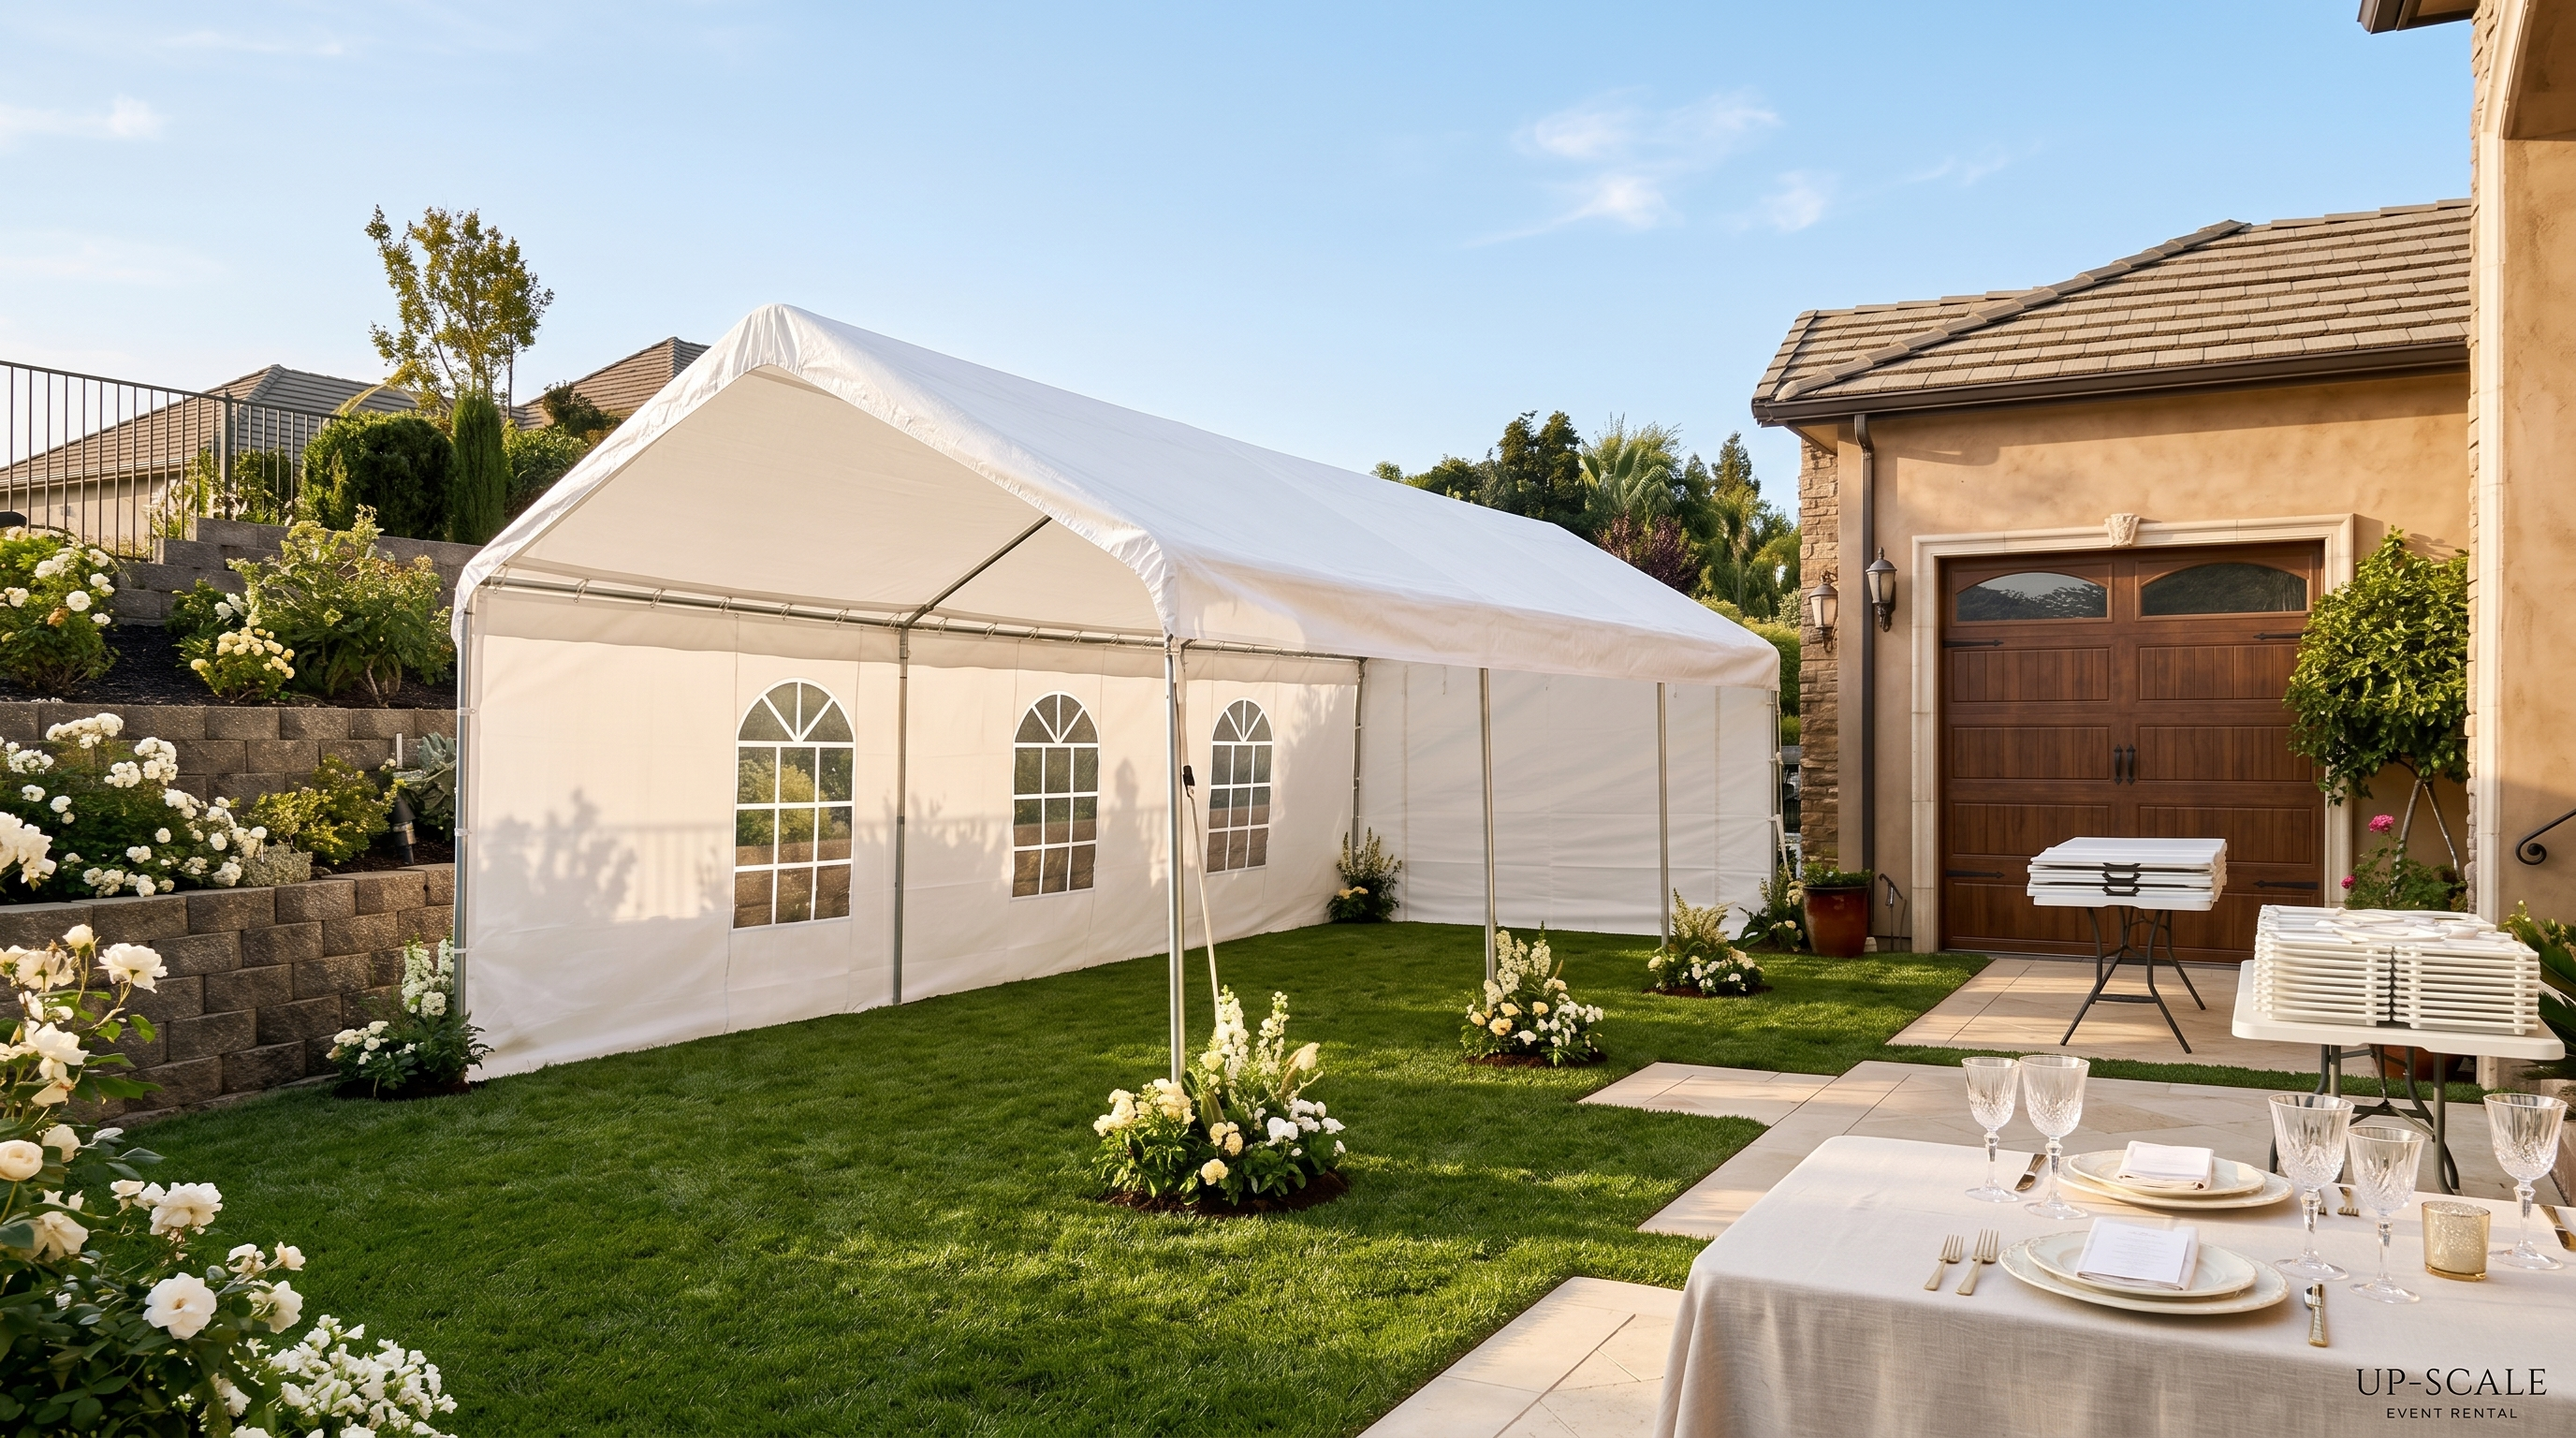
Best for intimate gatherings under 40 guests, vendor booth coverage, side shelter zones, or when your backyard has a tight footprint. The 20×40 is the most popular tent in this series — it's the workhorse for backyard birthday parties and small graduation celebrations. If you're debating between a 20×40 and a 20×60, go with the 60. The extra 20 feet costs less than you think and makes the space feel relaxed instead of compressed.
30-Series (30ft wide)
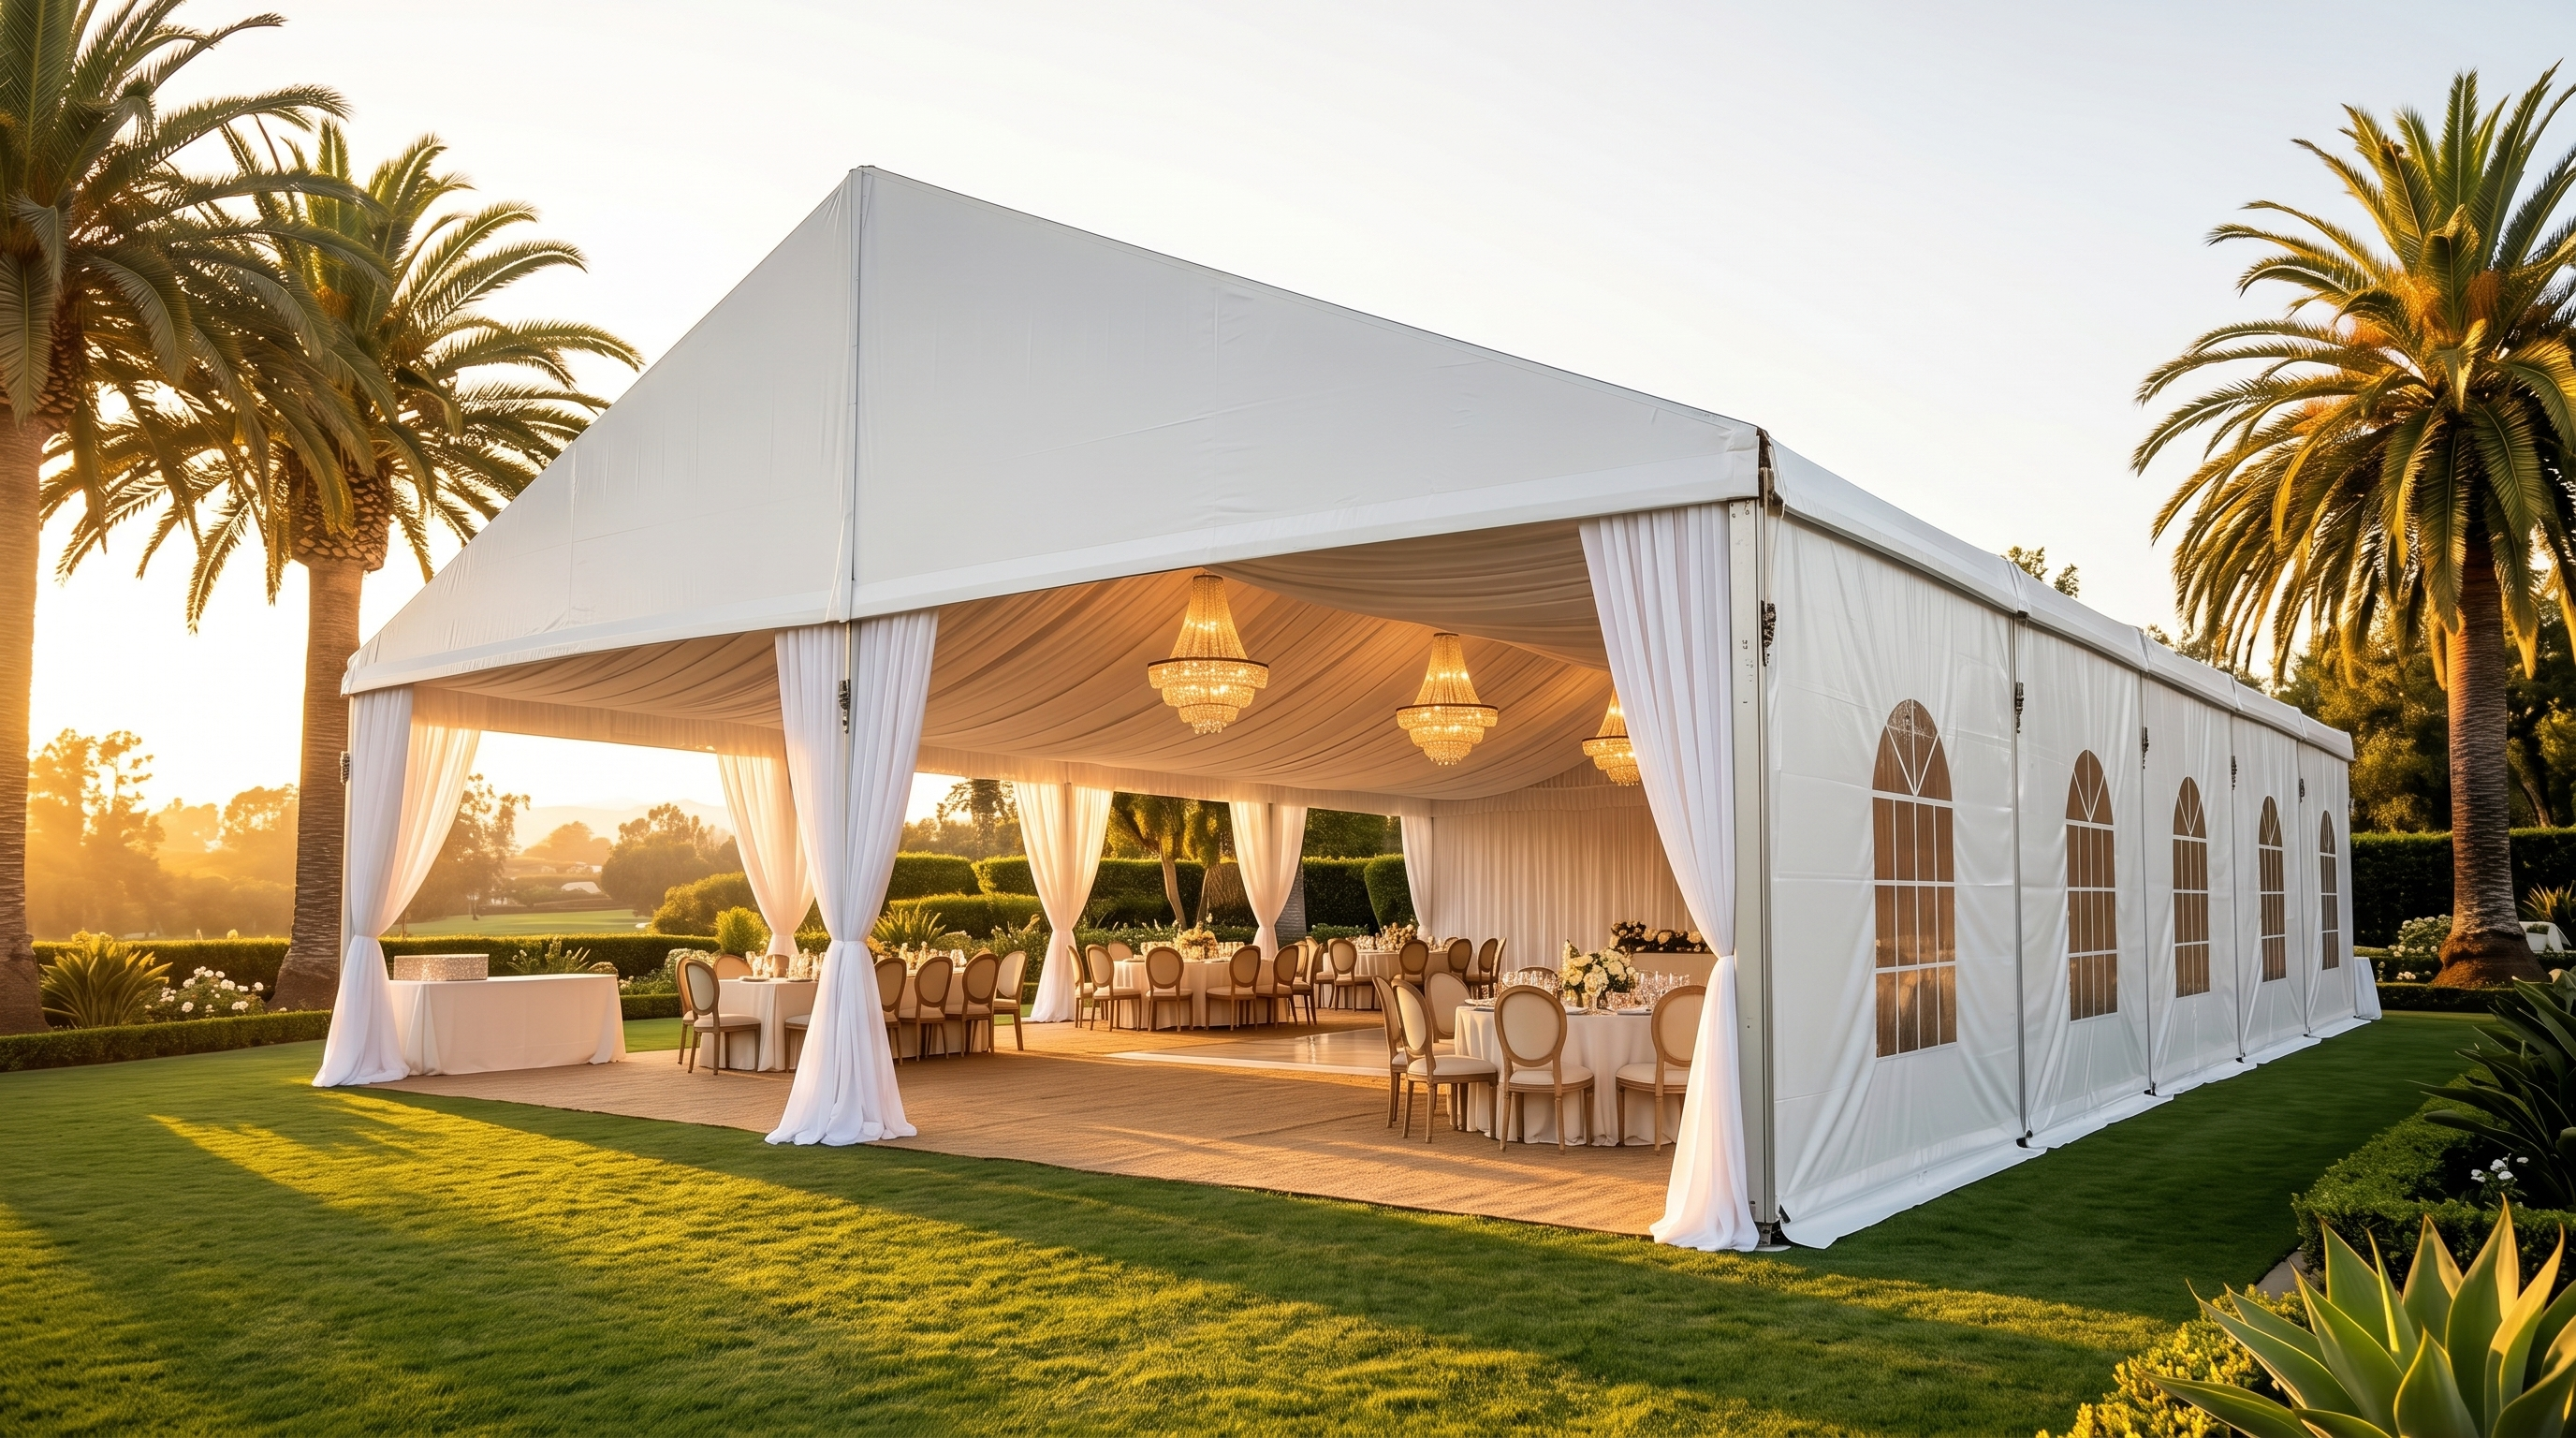
The quinceañera and mid-size wedding range. A 30×45 comfortably holds 80–100 seated guests with a dance floor and full décor. A 30×60 gets you to 120 guests with room to breathe. The wider span means more open ceiling height — tent draping looks especially dramatic in this series because the chandeliers have real height to hang from.
40-Series (40ft wide)
Large backyard events and venue-level setups. A 40×60 handles 150–180 guests with a full dance floor and proper décor installed. If you're planning a 150+ guest quinceañera or a corporate dinner, this is your series. Draping with chandeliers in a 40-series tent is the setup guests walk in and immediately take a photo of.
60-Series (60ft wide)
Commercial events, government contracts, large galas. These are venue-scale structures — a 60×120 rivals a hotel ballroom in square footage. If your guest count is 250+ or you need commercial-grade infrastructure, this is where we start the conversation. These setups require a site visit.
Sidewall Strategy: How Professional Event Designers Think About Flow
Sidewalls aren't just weather protection. They're traffic directors. How you place them determines where guests naturally move, where noise travels, and what ends up in the background of your photos. Most people treat sidewalls as an afterthought — close all four if it might rain, open them all if it's hot. Professional designers think about it completely differently.
The entry side — your guest's first impression
One long side should be your entry side. This is where guests arrive and where their first impression forms. Open this side fully or use elegantly draped fabric openings. The critical detail: make sure the guest arrival path leads directly toward the dining zone or a drink station — not into the back of a serving table or the DJ cables. The first sight line inside a tent is the most photographed moment of the night.
The backdrop side — your photo destination
Choose one short end (or a section of a long side away from entry traffic) for your backdrop. Close this side with a solid sidewall. This gives your backdrop a clean, solid background. It also creates a defined "destination" inside the tent — guests walk toward it for photos instead of clustering randomly. Without a closed wall behind it, a backdrop gets lost in the visual noise of the event.
The service side — for your catering team
Your catering, bar, and serving tables belong on one side of the tent, away from entry traffic. Keep this side semi-open — catering staff need fast access and the kitchen needs somewhere to exhaust heat and smell. The key is that this side should not be visible from the entry or the backdrop. If guests walk in and the first thing they see is the service table, the event feels like a cafeteria.
The one sidewall rule that changes everything
Never put the bar and the photo backdrop on the same side of the tent. People cluster around the bar. People cluster in front of the backdrop. Two crowd clusters on the same side create a bottleneck that makes the room feel smaller than it is. Put them on opposite sides to naturally distribute your guests across the full space.
Backdrop Placement: The Mistake That Ruins Photos
Here's something nobody tells you until it's too late: a backdrop placed the wrong direction guarantees bad photos, every single time.
The mistake: hosts place the backdrop facing inward, toward the party, thinking guests will see it and walk up to it naturally. That part is correct. The problem is the photographer. Photographers stand in front of the backdrop and shoot toward their subject. The background they're shooting toward is the party — everyone standing around staring. The backdrop is behind the subject's head, but the background is chaos.
The correct setup: your backdrop faces outward from a closed wall, with 10–15 feet of clear, open space in front of it. Guests approach from the party side. The photographer positions themselves between the guests and the party, shooting toward the backdrop. Now the background is always clean, always lit, and always intentional. This is the same reason professional photo studios use white backgrounds — it removes visual noise.
How to light a backdrop correctly
Light your backdrop from two 45-degree angles — one uplight or pin spot from each side. Dead-center lighting flattens everything and creates unflattering shadows. Angled light creates dimension and makes fabric textures, flowers, and balloon arrangements pop in photos. The chandelier lighting included in our tent draping packages helps here — the warm ambient glow from above diffuses naturally without creating harsh shadows, and it complements the backdrop without needing a separate lighting setup.
The Items You Actually Need Once You Commit to a Tent
A tent is an empty box. It's everything that goes inside that turns it into an event. Here's what experienced event planners include in every tent rental — and why each item matters more than people expect:
Tent Draping
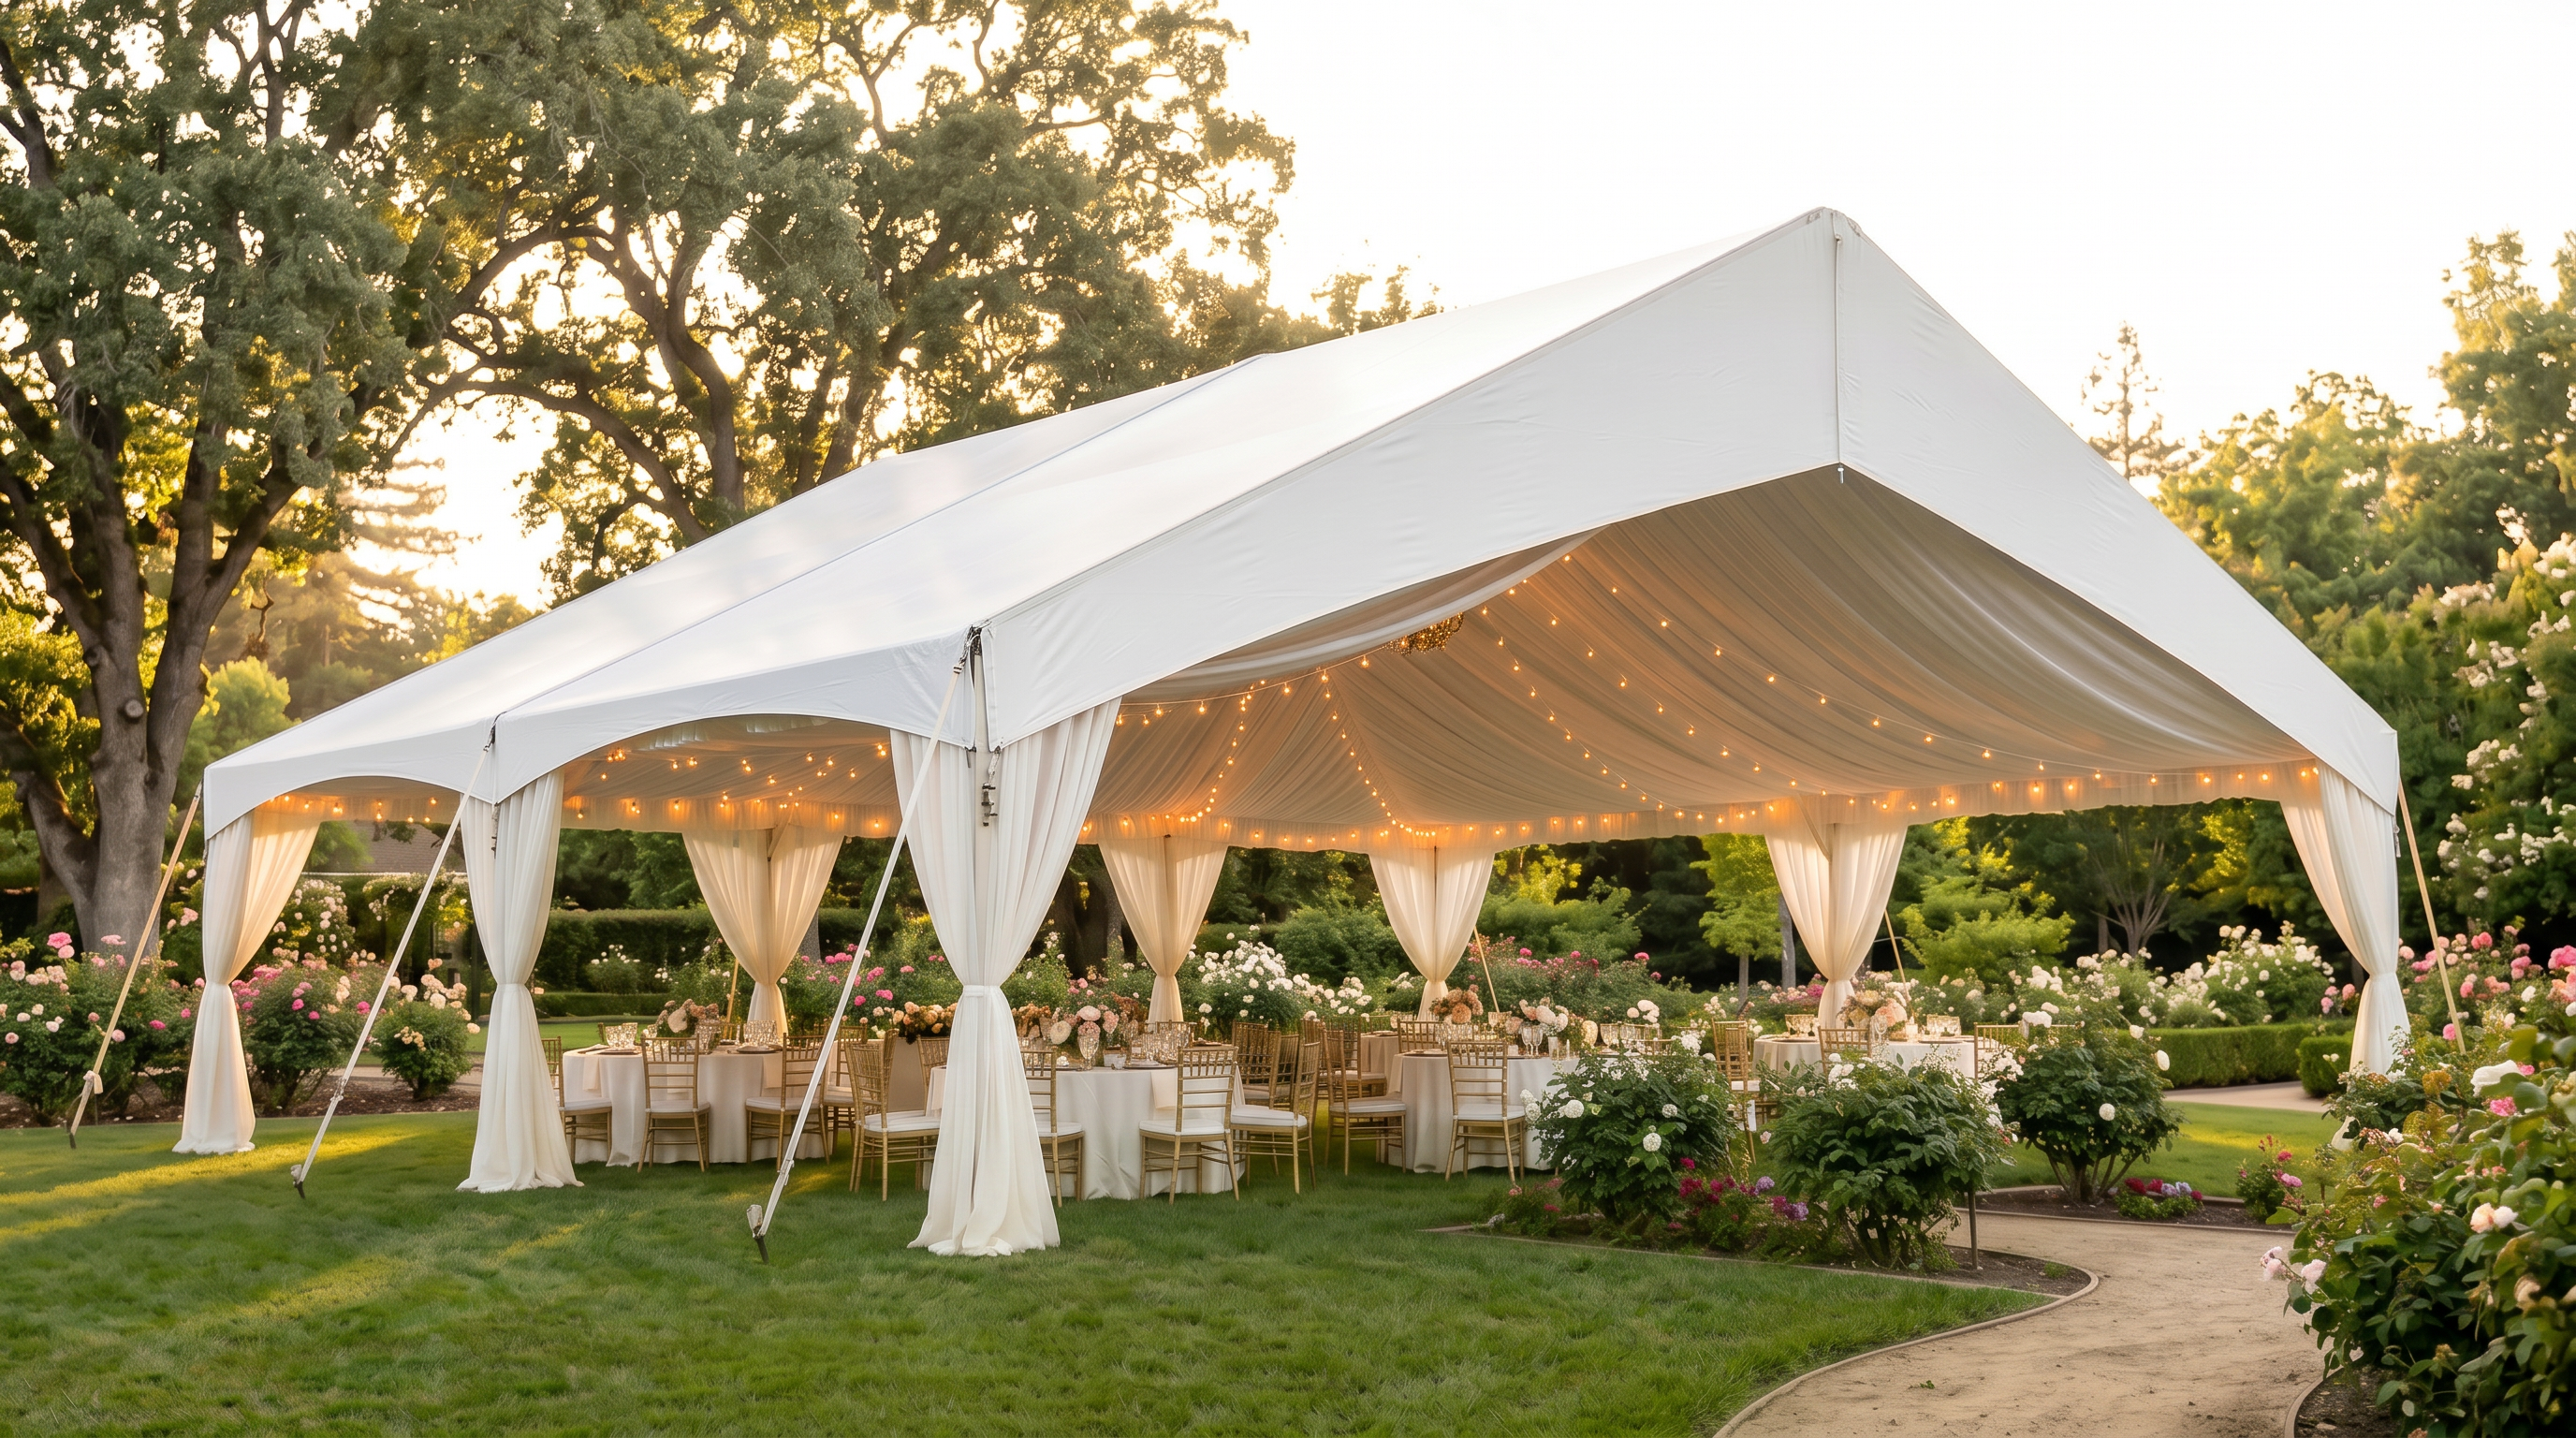
Bare metal tent poles and a white canvas ceiling look like a construction site. Draping covers the frame and creates a fabric ceiling that makes the space feel intentional. Ours includes chandelier lighting at no extra cost — it's the single highest-impact item in any tent setup, and it changes the entire energy of the room the moment it's lit.
Tables
60-inch round tables seat 8 comfortably and create natural conversation circles — right for most events. 8-foot rectangular tables seat 8–10 in a family-style arrangement. Budget one table per 8 guests, plus 1–2 head tables or display tables. Round tables are the almost-always correct default.
Chairs
Standard folding chairs work. Resin chairs look cleaner in photos. Chiavari chairs are the standard for quinceañeras and weddings. Plan for 10% over your guest count — chairs get moved, people borrow them, and you never want to be short. One missing chair is the one your grandmother notices.
Linens
Table covers protect tables and finish the look. Your linen color is the fastest way to match your event's palette without spending on flowers. Round tables need 120-inch round linens; 8-foot rectangulars need 90×156 linens. This is one item people always wish they'd added when they see the photos.
Dance Floor
Grass + heels = twisted ankles and nobody dancing. A defined dance floor — typically 14×14 or 16×16 — signals to guests that this is a space for dancing. Without it, the zone is ambiguous, people stay seated, and the DJ is performing for an audience instead of a party. The floor is also the one item that's nearly impossible to add last-minute.
Lighting
String lights under the tent ceiling create warmth after sunset. Uplighting around the perimeter shifts the entire color and mood. If you have draping, the included chandelier package covers the ceiling — add uplighting for the perimeter walls. Never leave lighting as an afterthought. The event looks completely different after 7pm and the photos from that window are the ones people frame.
The rule of thumb we give every client
Whatever you spend on the tent, plan to spend an equal amount on what goes inside it. A $1,200 tent with $200 of décor looks like a $200 event. A $1,200 tent with $1,200 of draping, lighting, and linens looks like a $5,000 venue. The tent is the structure. The décor is what people actually see.
Planning a specific event? Start here:
Our wedding packages include tent, draping with chandeliers, dance floor, tables, chairs, and linens — all in one quote.
Wedding Packages →We speak Spanish and understand the tradition. Carpas, pistas de baile, globos, drapeados — todo incluido.
Quinceañera Packages →Conferences, galas, company picnics, government events — commercial-grade structures with professional setup.
Corporate Events →Keep reading:
Draping is the single biggest visual upgrade you can make to any tent. Here's how it works and what it costs.
Why Tent Draping Transforms Any Event →How many round tables? How many chairs per table? Here's the math.
How Many Tables & Chairs Do You Need? →String lights vs chandeliers vs uplighting — what actually works for your tent.
Complete Guide to Event Lighting →Ready to size your tent? Tell us your guest count and event date. We'll send you a full itemized estimate — no obligation.
Get Your Free Tent QuoteFiesta Party Event Rentals Team
Sacramento, CA